ATV plastic fades over time due to sun exposure, dirt, and regular use. But you don’t need to settle for a dull appearance. This guide shows how to restore faded plastic on ATV using proven methods like boiled linseed oil and DIY techniques. Whether you’re aiming for an ATV makeover or protecting your investment, ATV plastic restoration can bring back that showroom shine.
Key Takeaways
- Environmental factors like UV rays and debris cause plastic fading.
- ATV plastic restoration can extend the life of your vehicle’s components.
- DIY methods are accessible with common tools and products.
- A proper ATV makeover enhances resale value and aesthetic appeal.
- Boiled linseed oil is a popular and effective restoration solution.
Introduction to ATV Plastic Restoration
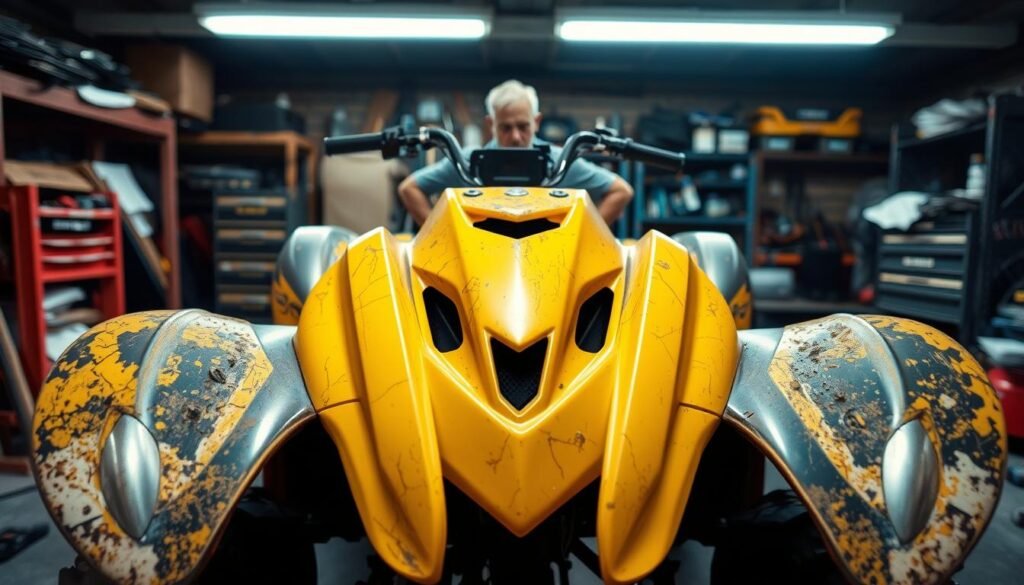
Regular ATV maintenance is key to keeping your off-road vehicle looking sharp. Over time, plastic parts fade due to sun exposure, dirt, and rough terrain. This faded plastic repair process brings back your ATV’s original appearance while protecting its components.
- Enhances vehicle aesthetics
- Extends plastic lifespan by 50%+ with proper care
- Cuts long-term repair costs
Pro tip: Always start with a deep clean using Dawn dish soap. This removes grime without damaging surfaces. Skipping this step risks uneven results during restoration.
| Issue | Solution |
|---|---|
| Faded body panels | Use UV-resistant restoration products |
| Scratch marks | Polishing compounds restore smooth finish |
Restoration isn’t just cosmetic—it strengthens plastics against future wear. Proper ATV maintenance routines prevent costly replacements down the road.
Understanding the Causes of Faded ATV Plastic
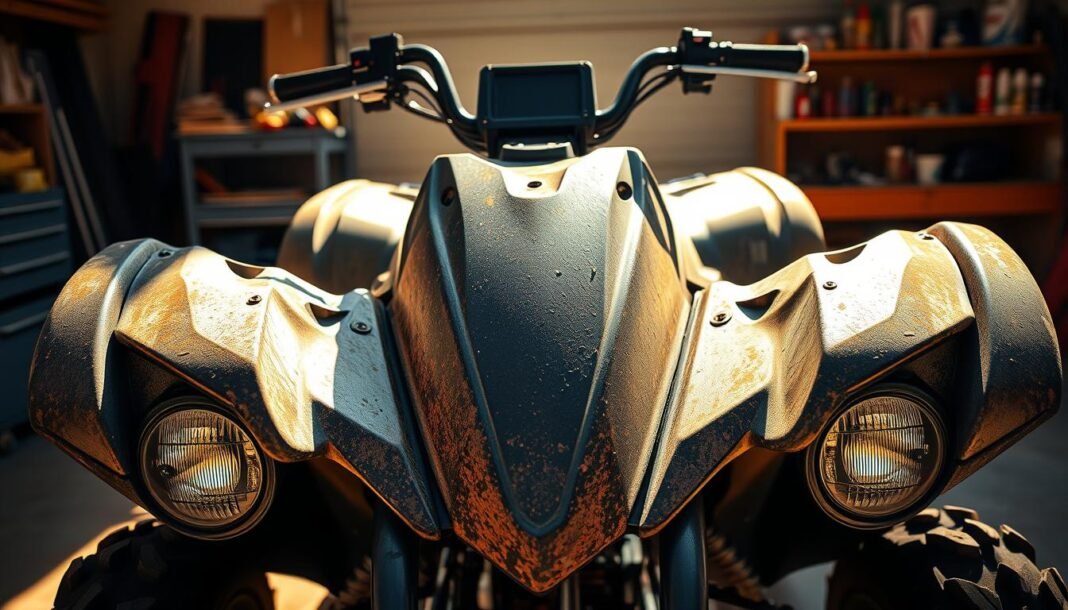
Knowing the root of ATV fading causes is key to reversing the effects. Environmental and physical stressors work together to degrade plastic over time. Here’s how they affect your ATV’s appearance and durability.
Environmental Factors
Exposure to sunlight triggers plastic deterioration through UV radiation. Here’s how it happens:
- UV rays break down plastic molecules, leading to color loss and surface roughness.
- Temperature swings cause expansion and contraction, creating microcracks.
- Rain and dirt accumulate, accelerating environmental damage on unprotected surfaces.
Wear and Tear Impacts
Physical contact contributes to fading and structural harm:
- Scratches from rocks, branches, or debris scrape away protective layers.
- Bumps and collisions crack surfaces, letting moisture seep in.
- Regular use on rough terrain worsens plastic deterioration over time.
These factors combine to weaken plastic, making restoration critical. Addressing both environmental and physical causes ensures long-term results.
Essential Tools and Materials for Restoration
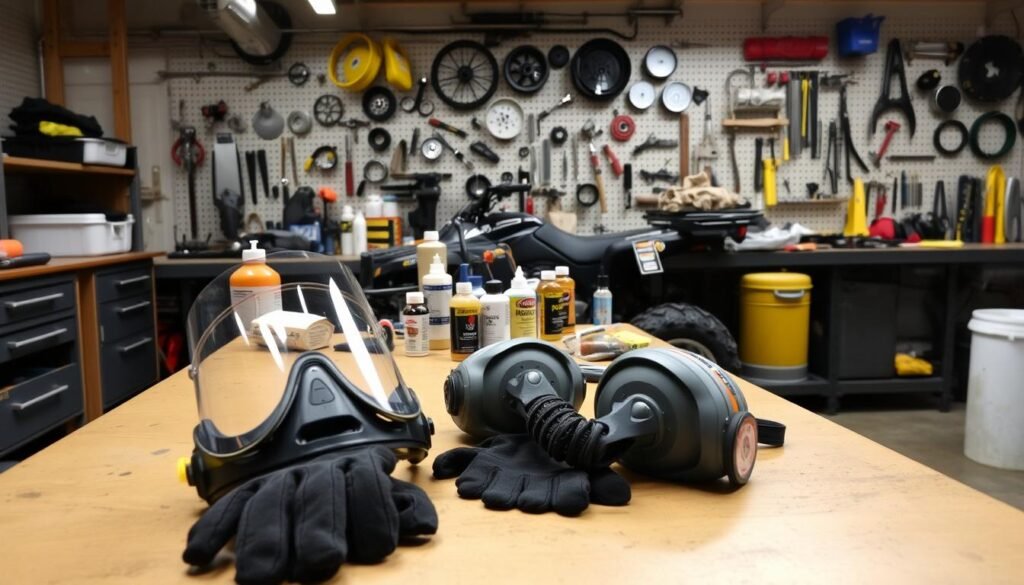
Before starting your ATV plastic restoration project, gather the right restoration tools and cleaning supplies. These items ensure a smooth process and professional results. Properly equipped, you’ll tackle scratches, discoloration, and wear effectively.
- Cleaning Supplies: Begin with mild dish soap like Dawn, which cuts through dirt without damaging surfaces. Microfiber cloths and soft-bristle brushes help scrub without scratching.
- Restoration Tools: Wet/dry sandpaper in 1000- to 1500-grit ranges smooth surfaces. A buffer or orbital sander removes old finishes. Apply boiled linseed oil (pre-treated for quick drying) to revive matte plastics.
- ATV Maintenance Tools: Automotive wax and sealants protect against UV rays. Safety gloves and eye protection keep you safe during chemical use.
“Quality tools mean fewer mistakes. Invest in durable sanders and proper cleaners for lasting results.” – Professional Mechanic, XYZ Garage
Organize your workspace with these essentials. For example, use plastic restorers like PlastX or Meguiar’s products for deep penetration. Avoid harsh abrasives that can mar plastic. Always test products on a small area first.
Many auto parts stores and online retailers carry these items. Prioritize brands like 3M for sandpaper or Turtle Wax for sealants. A well-stocked toolkit ensures you’re ready to tackle every step of the process confidently.
Preparation and Safety Measures
Before diving into your ATV restoration project, prioritizing ATV restoration safety ensures a secure environment. Proper precautions protect you from chemicals, sharp tools, and airborne particles. Let’s explore key steps to keep your workspace hazard-free.

Personal Protective Equipment
Wearing the right gear is non-negotiable. Here’s what to include in your protective equipment for ATV restoration:
| Equipment | Purpose | Example |
|---|---|---|
| Nitrile gloves | Protects hands from chemicals | 3M or Gorilla Grip |
| Respirators | Filtration against fumes | 3M 8210 or similar |
| Safety goggles | Blocks dust and splashes | DeWalt or Uvex brands |
Workspace Setup and Ventilation
Ensure your ATV workspace safety by following these steps:
- Work in a well-ventilated area or use fans to disperse fumes.
- Clear floors of clutter to prevent tripping hazards.
- Position lighting so you can see every corner of the ATV.
Adequate airflow reduces inhalation risks, and organized spaces cut accident chances. Keep a fire extinguisher nearby just in case.
Step-by-Step Guide: how to restore faded plastic on atv
Revive your ATV’s faded plastic with this easy-to follow step-by-step guide. Follow each stage of the restoration process to achieve a like-new finish. Start with proper cleaning ATV plastic surfaces to ensure products adhere effectively.
Initial Cleaning Procedures
Begin with a thorough clean using mild dish soap like Dawn. Use a soft sponge to scrub surfaces, removing dirt and grease. Rinse thoroughly with water and dry completely before moving forward.
Application of Restoration Products
Choose from these proven options for the restoration process:
| Product Type | Recommended Brand | Application Method |
|---|---|---|
| Boiled Linseed Oil | Libby’s Linseed Oil | Apply with a microfiber cloth, wipe excess after 10 minutes |
| Plastic Restorer | 303 Aerospace Protectant | Lightly spray and buff into plastic until shiny |
| Liquid Wax | Novus Plastic Restorer | Use sparingly on glossy plastics, avoid over-application |
Finishing Touches and Dry Time
- Let treated areas dry undisturbed for 24 hours
- Buff with a clean cloth for final shine
- Avoid water exposure for 48 hours post-application
Patience is key—the restoration process requires proper drying time to ensure lasting results. Test new products on small areas first.
DIY vs Professional Restoration: Making the Right Choice
Choosing between DIY ATV restoration and professional ATV restoration depends on your skills and goals. Let’s break down the facts to find the best fit.
| Factor | DIY ATV Restoration | Professional ATV Restoration |
|---|---|---|
| Cost | Affordable upfront (under $50) | Higher upfront cost ($200–$500+) |
| Time | 2–4 hours per session | Delivered in 1–3 days |
| Skills Needed | Basic handiwork skills | Specialized equipment and expertise |
| Longevity | 6–12 months with proper care | 2–5 years of durability |
For cost-effective ATV restoration, DIY saves money but demands patience. Kits like 303® Restor-A-Plastic work well for light fading. Professionals handle complex cases, like deep cracks or warped parts, ensuring flawless results. Ask yourself: Do I have time to learn techniques, or is peace of mind worth the investment?
Techniques for a Long-Lasting Shine
Maintaining a long lasting shine on restored ATV plastic requires careful attention to both polishing and protective layers. Start by choosing the right polishing ATV plastic method suited to your ATV’s condition. Avoid heat guns, which may offer quick fixes but weaken materials over time.
Polishing Methods
For minor fading, apply a 40/60 mix of boiled linseed oil and paint thinner to a clean microfiber cloth. Wipe the plastic in circular motions to remove surface oxidation. Let it dry fully before buffing. For deeper restoration:
- Sand faded areas with 1000- to 2000-grit sandpaper to smooth the surface.
- Wipe with isopropyl alcohol to remove dust.
- Buff with a polishing compound to even out the finish.
Sealant Application
After polishing, use sealant application to lock in results. Apply vinyl floor liquid wax (like Minwax) in thin layers, letting each dry before adding the next. Follow with an automotive-grade protectant such as X-Tream Mud Guard to repel UV rays and debris. Reapply sealants every 6 months for sustained protection.
| Method | Steps | Pros |
|---|---|---|
| Oil & Thinner Mix | Clean surface → Apply mixture → Wipe dry | Easy setup, budget-friendly |
| Sand and Wax | Sand → Clean → Apply wax layers | Long-lasting results |
Troubleshooting: Common Restoration Pitfalls
Restoration pitfalls often arise from overlooked details. Many common ATV restoration mistakes stem from rushing steps or ignoring prep work. Here’s how to spot and fix them:
- Incomplete cleaning: Leftover oil or dirt under coatings causes peeling. Clean surfaces with degreasers before applying any product.
- Uneven application: Thick or thin spots in coatings lead to cracks. Use light, even layers and let each dry fully before adding more.
- Sanding shortcuts: Skipping grits or haphazard sanding leaves rough spots. Progress through sandpaper grades systematically.

Adhesion failures often happen when surfaces aren’t prepped properly. Test areas first to check for compatibility. Over-sanding curved parts can thin plastic, so sand gently. Avoid using harsh abrasives on delicate surfaces.
Pro tip: Always follow product instructions for drying times. Rushing steps like curing leads to weak finishes. For stubborn contaminants, use isopropyl alcohol to strip residues before priming.
Maintaining Your ATV’s Rejuvenated Look
Protecting your restored ATV’s appearance requires consistent effort. Follow these steps to keep plastic parts looking fresh for years:
Regular Cleaning Habits
- Wash monthly with mild soap and water—never use abrasive cleaners
- Dry surfaces completely after cleaning to prevent water spots
- Use microfiber cloths to avoid scratching polished surfaces
Stick to ATV cleaning maintenance routines to prevent premature fading. Experts recommend avoiding direct sunlight while cleaning to avoid soap residue buildup.
Protective Coating Reapplication
Reapply protective coatings every 6-12 months based on usage. Heavy off-road users should plan reapplications twice yearly. Here’s a quick guide:
| Condition | Frequency |
|---|---|
| Light trail riding | Every 12 months |
| Daily use | Every 6 months |
Choose durable sealants like coating reapplication products from brands like Chemical Guys or Meguiar’s. Apply coatings in shaded areas to ensure even drying. Consistent care ensures maintaining ATV shine remains effortless.
“A 3-month maintenance check helps catch wear early,” says资深ATV technician Sarah Lin. “Small cracks or faded spots are easier to address before they worsen.”
Incorporate these steps into your routine to preserve that showroom-quality finish. Small investments in upkeep pay off in longevity and resale value.
Recommended Products and Supplies
Looking for the best restoration products to bring back your ATV’s plastic? Here’s our list of top ATV supplies and recommended products tested by experts and enthusiasts.
Start with boiled linseed oil for deep conditioning. CAR GUYS Plastic Restorer is a top choice for fading caused by UV rays. For polishing, try Mothers California Gold compound paired with 3M sandpaper (1500-3000 grit).).
“Using CAR GUYS Plastic Restorer made a huge difference on my 2018 Yamaha ATV’s dashboard.” – Mike T., 5-star review
| Product Type | Brand/Name | Key Features |
|---|---|---|
| Plastic Restorer | CAR GUYS Plastic Restorer | UV protectant, restores color, non-toxic |
| Polishing Compound | Mothers California Gold | Micro-fine formula for smooth finishes |
| Protective Wax | 3M UVX Wax | Long-lasting sealant, water-repellent |
For budget-friendly options, consider generic automotive-grade polishing pads and microfiber towels. Always check compatibility with your ATV’s plastic type. Pro tip: Pair planetary buffers like the Makita BO7100 with liquid waxes for even application.
Environmental Considerations & Future Protection
Restoring your ATV doesn’t have to harm the planet. Eco-friendly restoration and sustainable maintenance practices help protect the environment while keeping your ATV looking sharp. Choose methods that reduce waste and chemical runoff.
Eco-Friendly Restoration Options
Opt for green ATV restoration products like biodegradable cleaners or water-based polishes. Brands like EcoTouch and Meguiar’s EcoLine offer low-VOC solutions that cut pollution without sacrificing shine.
- Biodegradable cleaners break down safely in the environment.
- Low-VOC sealants reduce toxic emissions during application.
- Recycled microfiber cloths replace disposable materials.
Sustainable Maintenance Practices
Protect your investment and the planet with these tips:
- Reuse rinse water for plants or lawns instead of pouring it down drains.
- Store chemicals in airtight containers to avoid spills and waste.
| Comparison | Eco-Friendly | Traditional |
|---|---|---|
| Toxicity | Non-toxic, biodegradable | Contains harsh chemicals |
| Cost | Slightly higher upfront | Lower initial cost |
| Longevity | Lasts 6-12 months with proper care | Shorter lifespan, frequent reapplication |
“Sustainability starts with small choices—like choosing eco-friendly cleaners—that add up to big environmental wins.”
By adopting these practices, you preserve both your ATV’s appearance and natural surroundings. Small changes today ensure your vehicle stays vibrant while respecting the trails and environments where it’s used.
Conclusion
Reviving your ATV’s faded plastics isn’t just about looks—it’s about extending its life. This ATV plastic restoration conclusion shows that with the right tools and methods, you can bring back that like-new shine. The summary ATV restoration tips covered, from cleaning to sealants, help maintain performance and aesthetics. Start by addressing UV damage and wear with products like Turtle Wax Plastic Cleaner or Chemical Guys RestoreX, then protect with a durable coating.
Regular care matters. Follow the steps outlined, like applying protective sprays every six months and avoiding harsh abrasives. Whether doing it yourself or hiring a pro, prioritizing eco-friendly options like Eco-Maxx cleaners reduces harm to the environment while keeping plastics vibrant. Troubleshoot early signs of fading to avoid deeper damage.
Protecting your investment starts with small habits. Store your ATV under cover when possible and check for cracks monthly. The techniques in this guide ensure your machine stays functional and stylish for years. Don’t wait until plastics are brittle—act now to preserve value and enjoy a vehicle that shines as long as it serves you.


